How to Set Up a Raspberry Pi Firewall: Step-by-Step Guide

Are you concerned about network security in an increasingly perilous digital age? Imagine transforming your modest Raspberry Pi into a formidable Raspberry Pi firewall, offering robust protection against cyber threats. This cost-effective solution not only shields your data but also empowers you with control over your network’s defenses. Intrigued by the potential of turning a simple device into a powerful security tool? Discover how a Raspberry Pi firewall can become your first line of defense, safeguarding your digital assets with unparalleled efficiency. Let’s explore the remarkable capabilities of this innovative security solution.
Table of Contents
What is Raspberry Pi?
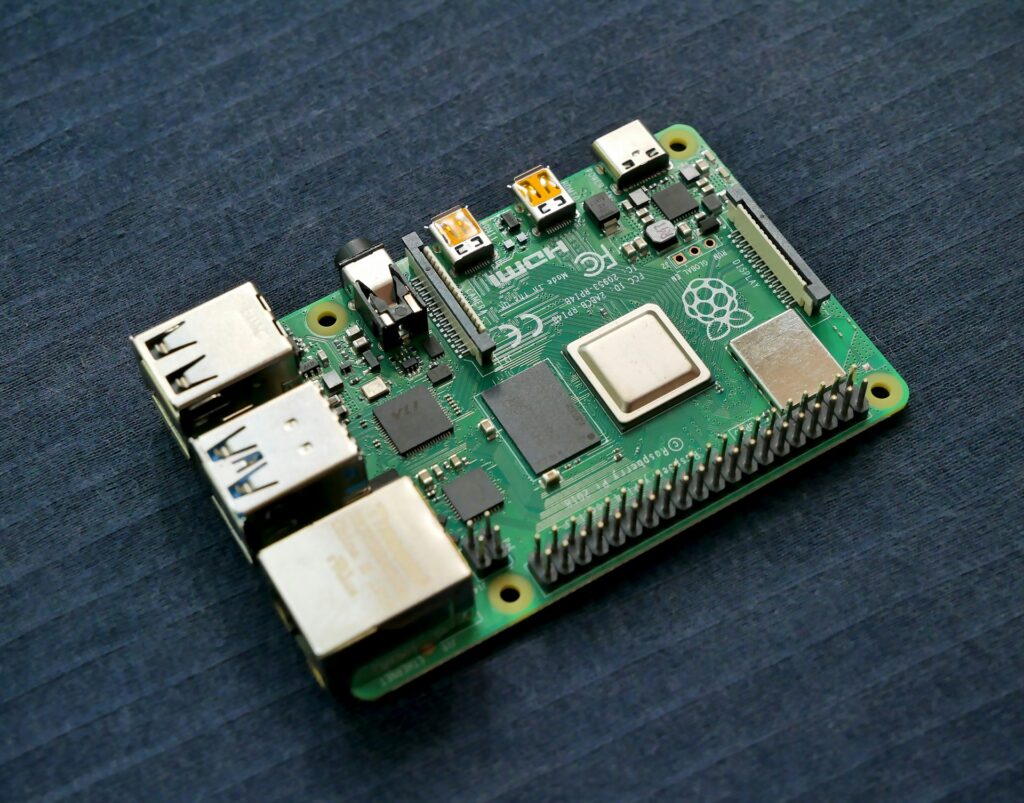
The Raspberry Pi is a compact, affordable single-board computer designed to promote computer science education and experimentation. Initially created by the Raspberry Pi Foundation, this versatile device has found applications far beyond its original intent. With its small form factor, the Raspberry Pi can run a variety of operating systems, including Linux distributions like Raspbian. It features GPIO (General Purpose Input/Output) pins, allowing users to interface with electronic components and sensors, making it a popular choice for DIY projects and IoT applications.
Despite its modest size, the Raspberry Pi boasts considerable processing power, capable of handling tasks ranging from basic coding to media center applications. Its affordability and flexibility have made the Raspberry Pi a cornerstone in the maker community, fostering innovation and creativity in technology and education.
Installing a Raspberry Pi Firewall
To establish a Raspberry Pi firewall, follow these steps:
1- Update Your System: Begin by ensuring your Raspberry Pi is up-to-date. Open the terminal and :
apt update
sudo apt upgrade

2- Install UFW: Next, install the Uncomplicated Firewall (UFW) with:
apt install ufw

3- Enable the Firewall: Activate the firewall to start protecting your network:
ufw enable

4- Verify Status: Confirm that the Raspberry Pi firewall is active and operational:
ufw status

Managing the UFW Service
To effectively manage the UFW service on your Raspberry Pi firewall, follow these steps:
1- Enable UFW: To activate the firewall and start protecting your network, use:
sudo ufw enable

2- Check Status: Verify that your Raspberry Pi firewall is active with:
ufw status

3- Disable UFW: If you need to temporarily halt the firewall, disable it with:
sudo ufw disable

4- Reload Rules: To apply changes without rebooting, reload the UFW rules using:
sudo ufw reload

5- Reset UFW: If necessary, reset all UFW rules to their default state:
sudo ufw reset

Opening Ports in UFW to Allow Incoming Traffic
To configure your Raspberry Pi firewall for allowing incoming traffic, follow these steps:
1- Allow Specific Ports: To permit traffic through a specific port, such as SSH on port 22, use:
sudo ufw allow 22

2- Allow Specific Protocols: For more granular control, specify the protocol. For instance, to allow HTTP traffic on port 80, use:
sudo ufw allow 80/tcp

3- Allow Ranges of Ports: If your application requires a range of ports, you can open them all at once. For example, to open ports 1000-2000, use:
sudo ufw allow 1000:2000/tcp

4- Allow by Service Name: UFW supports service names, simplifying the rule-setting process. To allow HTTP traffic, use:
sudo ufw allow http

Allowing Connections by Service Name
Simplifying firewall configuration is crucial for efficient network management. To allow connections by service name on your Raspberry Pi firewall, follow these steps:
1- Allow HTTP Traffic: To permit web traffic, use the following command:
sudo ufw allow http

2- Enable Secure Shell (SSH): For remote access via SSH, execute:
sudo ufw allow ssh

3- Permit HTTPS Traffic: Ensure secure web connections by allowing HTTPS:
sudo ufw allow https

4- Enable FTP Service: To allow file transfers, use:
sudo ufw allow ftp

Granting and Limiting Access to Trusted IP Addresses
Fine-tuning access control is pivotal for network security. With a Raspberry Pi firewall, you can grant and limit access to specific IP addresses, enhancing protection. To permit access from a trusted IP, use:
sudo ufw allow from 192.168.1.100
This command ensures only the specified IP can connect, bolstering your firewall‘s defenses. Conversely, to deny traffic from a potentially harmful IP, execute:
sudo ufw deny from 192.168.1.200

This action precludes unauthorized access, maintaining the integrity of your network. For more nuanced control, specify both the IP address and the port, such as allowing SSH access only from a trusted source:
sudo ufw allow from 192.168.1.100 to any port 22

Enabling UFW Logging for Deeper Security Insights
To gain deeper security insights on your Raspberry Pi firewall, enable UFW logging. This feature provides detailed records of incoming and outgoing traffic, aiding in the identification of potential threats. Follow these steps to activate logging:
1- Enable Logging: Start by turning on UFW logging with:
sudo ufw logging on

2- Set Log Level: For comprehensive details, set the log level to high:
sudo ufw logging high

3- View Logs: Access the logs to review security events and traffic patterns:
sudo less /var/log/ufw.log

Removing Unwanted UFW Rules
Maintaining an optimized Raspberry Pi firewall involves periodically removing outdated or unnecessary UFW rules. Follow these steps to streamline your firewall configuration:
1- List Current Rules: Begin by listing all active rules to identify those that are no longer needed:
sudo ufw status numbered

2- Remove Specific Rule: Once you identify the rule to remove, note its number. Delete the rule with:
sudo ufw delete <rule_number>

3- Verify Changes: Confirm the rule has been successfully removed by checking the status again:
sudo ufw status

4- Reload UFW: Apply changes without rebooting by reloading the firewall:
sudo ufw reload

Conclusion
Incorporating a Raspberry Pi firewall into your network infrastructure is a prudent and cost-effective measure for enhancing security. This versatile device, when coupled with UFW, offers robust protection against unauthorized access and cyber threats. By meticulously managing rules, allowing necessary connections, and enabling detailed logging, you can tailor the firewall to meet your specific security needs. Regularly updating and refining your firewall configurations ensures that your network remains resilient against evolving threats. The Raspberry Pi firewall stands as a testament to how accessible and powerful network security can be, empowering you to safeguard your digital assets with confidence and precision.
FAQ

1- What is a Raspberry Pi firewall? : A Raspberry Pi firewall is a security device that uses a Raspberry Pi to control incoming and outgoing network traffic based on predetermined security rules.
2- Why should I use a Raspberry Pi firewall?: A Raspberry Pi firewall is cost-effective, highly customizable, and efficient in protecting your network from unauthorized access and cyber threats.
3- How do I install UFW on a Raspberry Pi firewall?: To install UFW on your Raspberry Pi firewall, update your system with sudo apt update and sudo apt upgrade, then install UFW using sudo apt install ufw.
4-How can I open ports in UFW to allow incoming traffic on my Raspberry Pi firewall?: Use the command sudo ufw allow [port] to open specific ports. For example, sudo ufw allow 22 opens port 22 for SSH access.
5- How do I enable logging on a Raspberry Pi firewall? : Enable logging with sudo ufw logging on and set the log level to high with sudo ufw logging high to get detailed security insights.
6- Can I allow connections by service name on a Raspberry Pi firewall? : Yes, you can allow connections by service name using commands like sudo ufw allow ssh or sudo ufw allow http.
7- How do I grant access to trusted IP addresses on a Raspberry Pi firewall? : To grant access to a specific IP address, use the command sudo ufw allow from [IP address].


Can you be more specific about the content of your article? After reading it, I still have some doubts. Hope you can help me.